When reassembling, follow the reverse steps of disassembly and install each component in sequence.
When two workers are doing this operation, they must remind each other to pay attention to safety.
1. It must be a high-quality bolt with a strength level of 12.9, and evenly coat the threaded surface of the bolt with heat-resistant grease (such as MoS2, etc.).
2. Tighten the diagonal bolts evenly, in the sequence shown in Figure 10-5, and tighten each bolt several times.
3. Use proper torque. Best to use a torque wrench.
4. Tighten all bolts final.
5. If the bolts of the heating
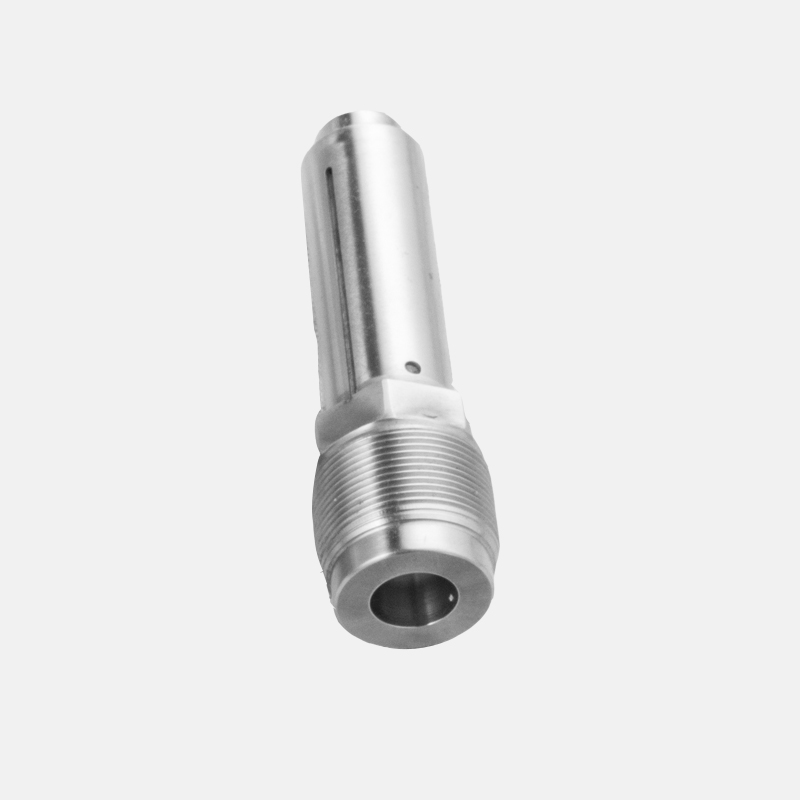
Screw barrel head are tightened too tightly, the threads may be damaged, but if they are too loose, the material may leak.
1. Preparation before dismantling
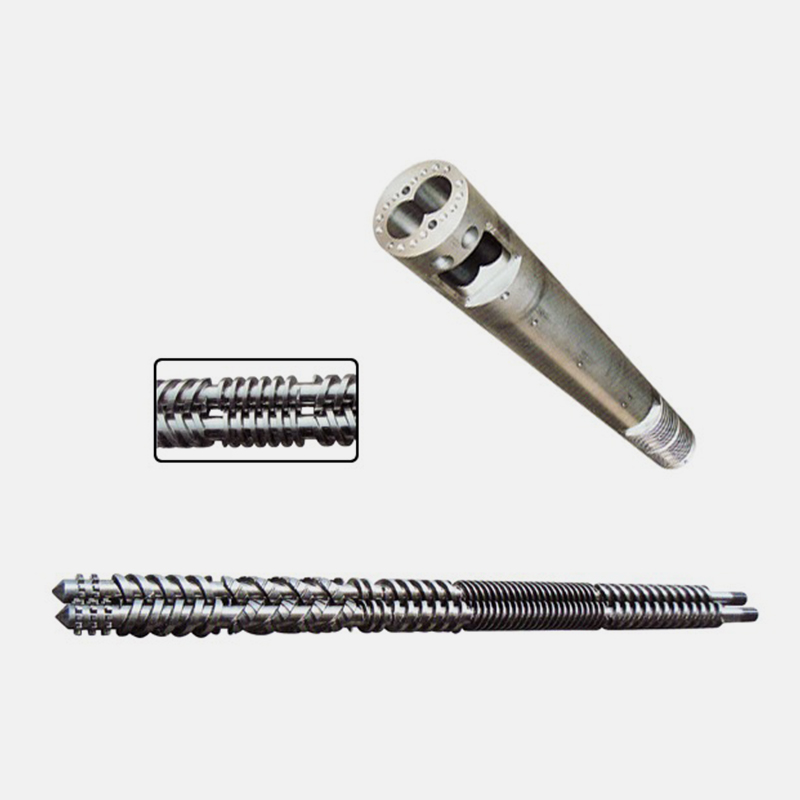
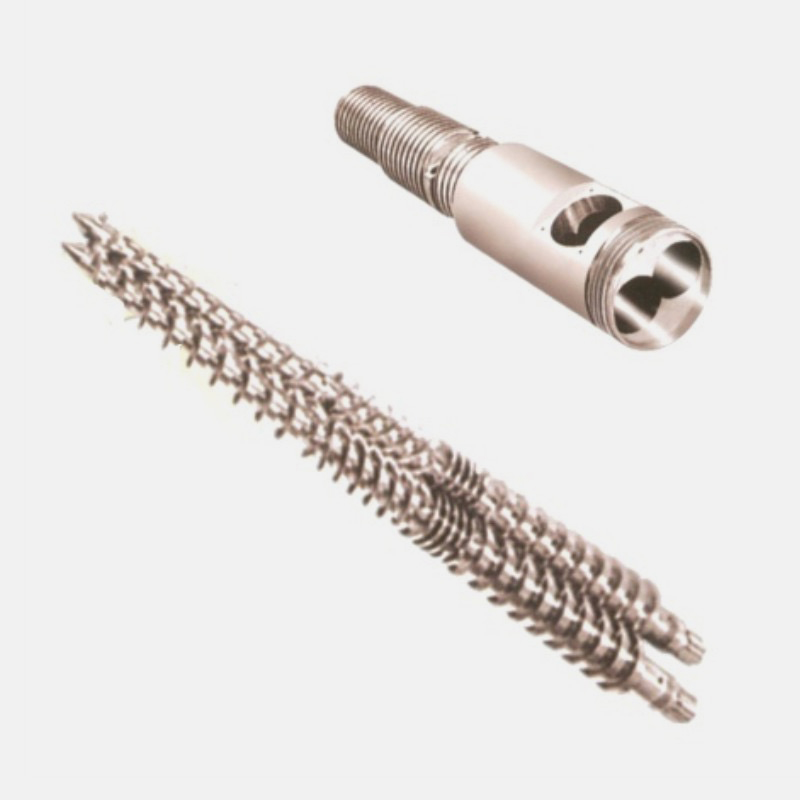
1. Before dismantling, the mold should be removed first, the mold should be opened to the maximum, the mold should be adjusted to the maximum, and the screw can be taken out from the mold opening area. (The injection seat can also be adjusted obliquely, as shown in Figure 10-6.)
2. For resins such as polycarbonate (PC) and rigid polyvinyl chloride (PVC), they will stick to the screw and heating barrel when cooling. Polycarbonate, in particular, can damage metal surfaces if not peeled off carefully. If these resins are used, they should be cleaned with polystyrene (PS), polyethylene (PE) and other cleaning materials first, which is easy to clean and disassemble the screw. (Refers to injecting several times into the air with polystyrene, etc.)
3. Empty the material in the barrel and keep the temperature of the barrel. The temperature of the front barrel can be raised appropriately to facilitate the removal of the screws of the front barrel.
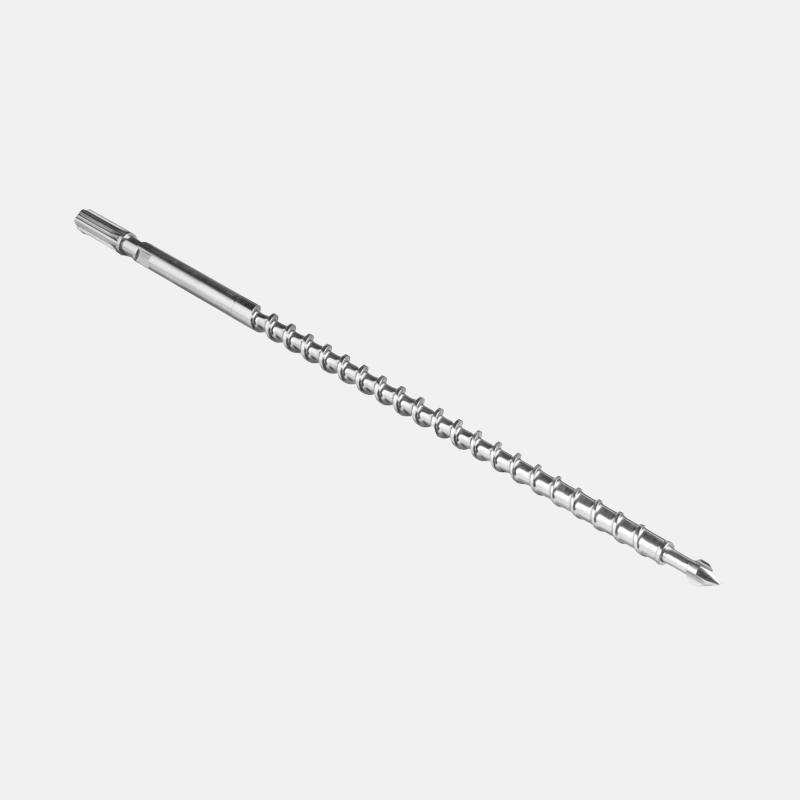
4. Prepare 4 or 5 wooden or steel rods (diameter<screw diameter)×(length<injection stroke) for ejecting the screw.
5. Waste lint or rags.
Two, displacement
1. Mainframe
Step 1: Use the selection switch of the injection molding device to move the injection molding device back all the way until it cannot move.
Step 2: Remove the fastening bolts of the guide rod support.
Step 3: Remove the cylindrical pin connecting the translation cylinder and the front plate of the shooting platform to separate the two.
Step 4: Use the special oil cylinder installed on the non-operator side and on the injection machine table to push the injection seat to rotate towards the operator, so that the screw and barrel can exit smoothly. Be careful not to stretch the wires and hoses too tight.
Operation process:
(1) Select 50% system pressure and 30% system flow through the operation panel.
(2) Remove the protective cover of the control valve installed next to the special oil cylinder.
(3) Push the handle forward by hand, the oil cylinder will slowly push the injection seat, turn it towards the operator until it reaches the proper position, and then return the handle to the neutral position.
(4) Pull the handle back when the injection seat needs to return.
 English
 简体中文
简体中文 España
 عربى
عربى